Cloud storage that puts privacy first
Save space on your device
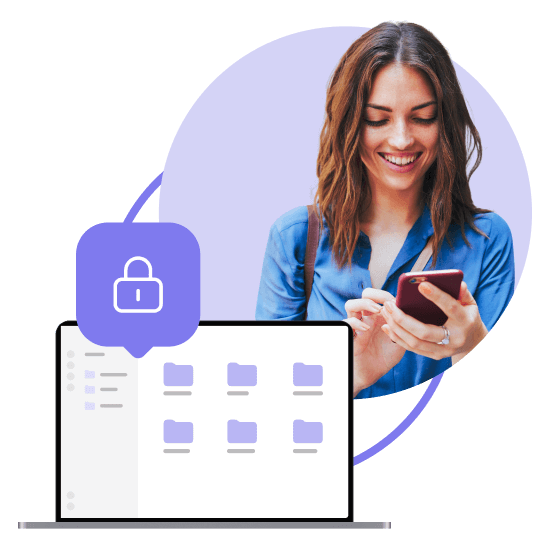
Protect files with end-to-end encryption
Access and share your files on any device
Get 3 GB of free storage
What is cloud encryption?
Use NordLocker’s private cloud to secure, back up, and access your files on the web or on desktop and mobile devices.
Cloud storage allows you to store your data on a server rather than your computer. Using cloud storage, you can synchronize data across multiple devices, back it up securely, and free up space on your other devices.
Use cloud storage like your digital file cabinet. Store private files and synchronize them across devices. Cloud storage is equal parts accessible and secure. If anything happened to your device, restoring data from the cloud is easy.
NordLocker uses zero-knowledge architecture for secure storage. It combines AES-256, xChaCha20-Poly1305, and Ed25519 algorithms to optimize file security and privacy. All your items are protected by end-to-end encryption as you add them to the vault.
Manage files privately with confidence
NordLocker keeps your data accessible without compromising its security thanks to zero-knowledge architecture and limitless end-to-end encryption.
Take your online security to the next level
Encrypted files
Encrypt your files, back them up, and always have them within reach with cloud storage. Share securely, sync effortlessly, and rest easy.
Private browsing
Enjoy an effortless experience each time you go online. Browse safely and dodge snoopers, trackers, and unwanted ads.
Password security
Add a secure password manager to your toolkit. It generates and stores secure passwords and autofills login details for you.
Get the full cybersecurity package with NordVPN
Pick the best plan for your needs and rest easy knowing all aspects of your digital life are protected at all times.
Here’s what our users have to say
NordLocker strikes a great balance between simplicity and breadth of features. The platform is straightforward and easy to use, and it isn’t overwhelmed by features you’ll never use.
Mike Williams,
Lead security reviewer, Techradar
NordLocker offers a simple way to protect your most sensitive files using encryption, yet easily share them when necessary.
Neil J. Rubenking,
Lead Analyst for Security, PCMag
NordLocker provides a simple user experience for a complex process, which is exactly what you want from software. Users can easily encrypt computer files, back them up to the cloud, and share them with others. There’s zero fear of a data breach or hacking.
Keelan Balderson,
Journalist and Content Creator, Techjury
Frequently asked questions
NordLocker is an encryption tool that anyone can use to store files securely and protect them from snoopers, hackers, and advertisers. NordLocker secures files and syncs them with a zero-knowledge cloud for easy access at any time.
End-to-end encryption grants security and data ownership to the users. It ensures that their data remains private and inaccessible to anyone without appropriate authentication.
NordLocker is available as a web browser application and can be accessed on all major browsers. You can also download the Windows app for desktop and mobile apps on Android and iOS.
Some of the encryption algorithms and ciphers we use include AES-256 and ECC, while your secret key is protected by XChaCha20-Poly1305-IETF.